




Stop IPTV Buffering: Setup Guide (2026)
Tired of IPTV freezing or stuttering? Learn how to optimize your Smart TV, network, and IPTV app step by step for smoother, more reliable streaming.
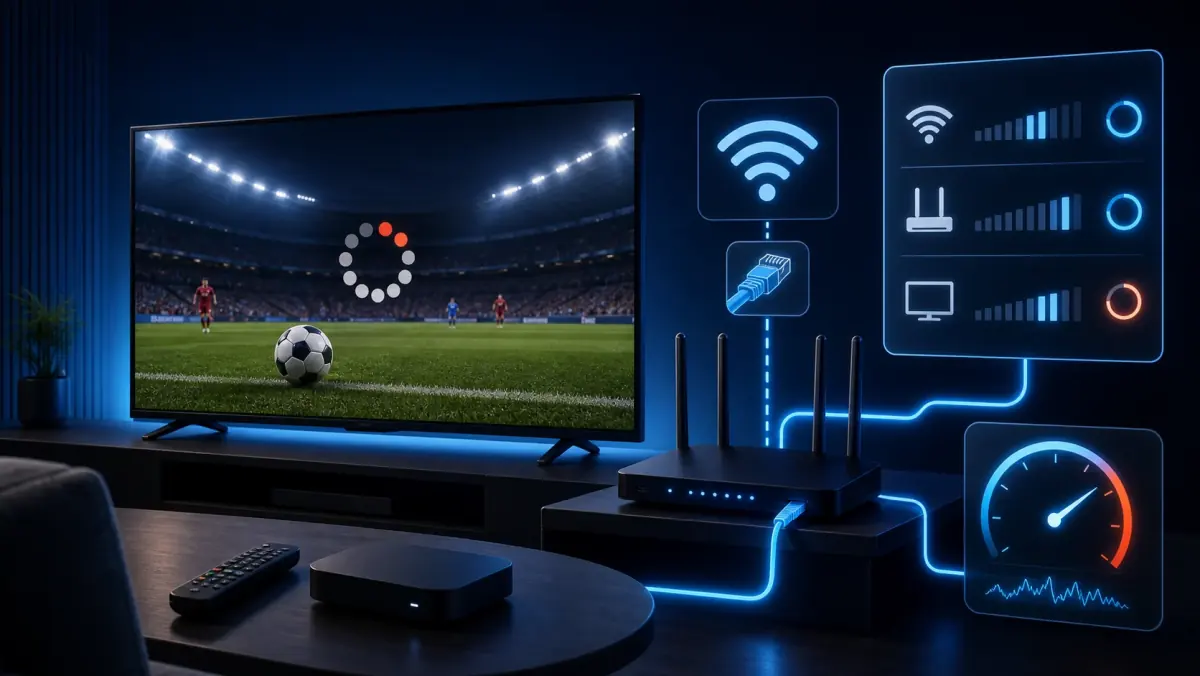
Watch IPTV Without Buffering: The Ultimate Setup Guide
You are ready for a football match. The stream starts quickly. The picture looks sharp.
Then it happens.
The image freezes. The familiar loading circle appears. You wait five seconds, ten seconds, or sometimes even longer. By the time the stream returns, you have missed the most important moment.
Sound familiar?
Buffering is one of the most common IPTV problems. However, it does not automatically mean that the IPTV server is offline. The issue may come from your Wi-Fi connection, television, IPTV app, router, internet connection, streaming device, or a combination of several factors.
The good news is that many of these problems can be diagnosed and fixed at home.
This guide walks you through the process step by step. Start at the top and work your way down. That is far more effective than changing random settings without knowing what is actually causing the interruption.
Why IPTV Can Buffer More Easily Than Netflix
Netflix, YouTube, and similar video platforms usually load part of a video in advance. This gives them a larger buffer and helps hide short drops in your internet connection.
Live IPTV works differently.
A live broadcast is being delivered at that exact moment. There is less room for delay. If your connection briefly drops, your Wi-Fi becomes unstable, or the source server cannot keep up, you are more likely to notice the interruption immediately.
That is why a 200 Mbps speed test does not guarantee flawless IPTV.
Speed matters, but stability matters just as much.
A stable 30 Mbps connection can perform better than a Wi-Fi connection that constantly jumps between 20 Mbps and 200 Mbps.
For IPTV, a consistent stream of data is often more valuable than a high peak speed.
Step 1: Find Out Where the Problem Starts
Before buying cables, changing DNS settings, or installing a VPN, answer one question:
Is the problem coming from your network, device, app, account, or the stream itself?
Run this quick test first:
- Open a different live channel.
- Play a movie or series from the video-on-demand library.
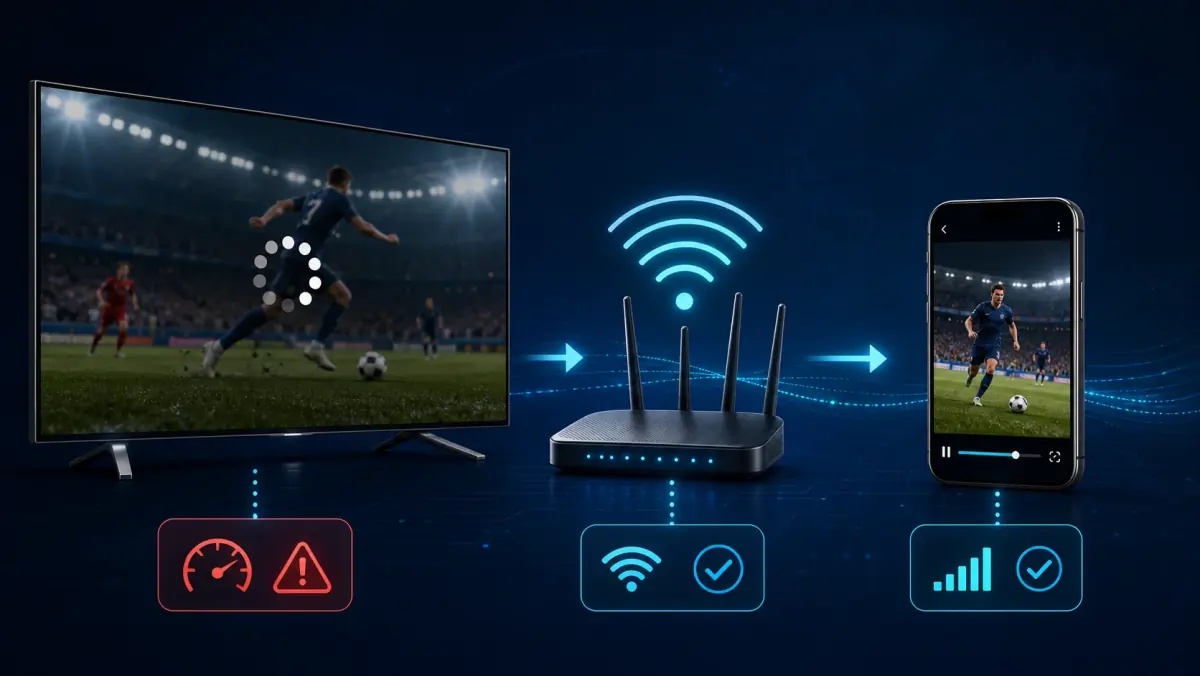
- Open the same stream on another device.
- Temporarily test a different internet connection, such as a mobile hotspot.
- Check whether Netflix, YouTube, or another streaming app works normally on the same television.
The results can tell you a lot.
If only one channel is having problems, the issue may be limited to that particular source stream.
If all channels perform badly on one television but work properly on your phone, the television, IPTV app, or network connection to that device is probably responsible.
If IPTV performs badly on every device while other streaming services work normally, the IPTV server, route to the server, or account configuration may be involved.
This simple test can save you a lot of unnecessary troubleshooting.
Step 2: Use an Ethernet Cable Whenever Possible
Wi-Fi is convenient. For live television, however, a wired connection is usually more reliable.
Wireless connections can be affected by walls, distance, nearby networks, wireless speakers, older routers, and even the position of your television.
Your speed test may look excellent while your connection still suffers from brief interruptions. Those short drops are often exactly what causes an IPTV stream to freeze.
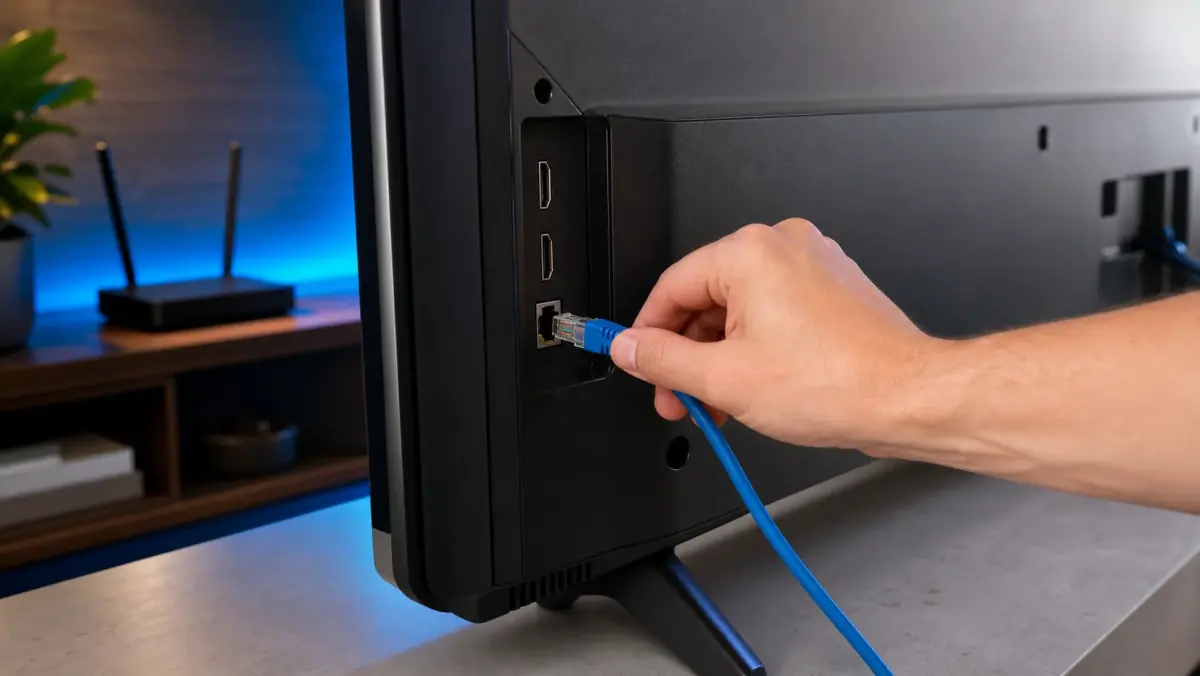
Whenever possible, connect your Smart TV, Android TV box, Formuler box, Chromecast adapter, or other streaming device directly to the router with an Ethernet cable. If you are setting up a new device, follow our IPTV installation guide before testing stream quality.
A Cat5e cable is more than enough for most homes. Cat6 is also a good option, especially if you are buying a new cable or running it over a longer distance.
What If You Cannot Use a Cable?
You can still improve Wi-Fi performance:
- Use the 5 GHz band when your television is close to the router.
- Try 2.4 GHz when the signal needs to pass through several walls.
- Do not place the router inside a cabinet or behind large furniture.
- Reduce the distance between the router and the television.
- Consider a mesh Wi-Fi system for larger homes or multiple floors.
- Restart the router if it has been running continuously for a long time.
- Disconnect old or unused devices that may be occupying the network.
Test the stream after every change.
Do not change five settings at the same time. If you do, you will not know which adjustment actually improved the connection.
Step 3: Test the Real Internet Speed on Your TV
Many people only test their internet connection on a phone or laptop.
That does not always show what the television is receiving.
Your phone may have a newer Wi-Fi chip than your Smart TV. It may also be closer to the router. For a meaningful result, run the test on the same device you use to watch IPTV.
As a general guideline, around 15 to 25 Mbps is often enough for a stable Full HD stream, depending on the bitrate and compression used by the provider.
A 4K stream normally requires more capacity. Around 35 to 50 Mbps or more gives you a safer margin.
These are only practical guidelines. The bitrate of one stream can be very different from another.
More importantly, a stable 25 Mbps connection is usually better than a connection that repeatedly rises and falls.
Also consider what else is happening on your home network.
Large downloads, cloud backups, game updates, video calls, security-camera uploads, and multiple 4K streams can consume a large amount of bandwidth. If IPTV mainly buffers in the evening, your home network may simply be busier at that time.
Pause large downloads and automatic updates, then test the same channel again.
Step 4: Restart More Than Just the App
An IPTV app can become slower after days or weeks of use. Its cache grows, the television may have little free memory, and background processes can remain active.
Simply returning to the home screen does not always close the app completely.
Try the following:
- Fully close the IPTV app.
- Restart the television or streaming device.
- If necessary, disconnect the device from power for 30 seconds.
- Restart your router as well.
- Open the IPTV app before launching other apps.
It sounds basic, but this often resolves temporary playback problems.
If the device is low on storage, remove apps you no longer use. Some Smart TVs perform noticeably worse when nearly all available storage is occupied.
You should also check whether your IPTV app and device software are up to date. Updates sometimes include playback, compatibility, and decoder fixes.
However, avoid updating everything immediately before an important live event. Test new versions in advance whenever possible.
Step 5: Adjust the Buffer Size Carefully
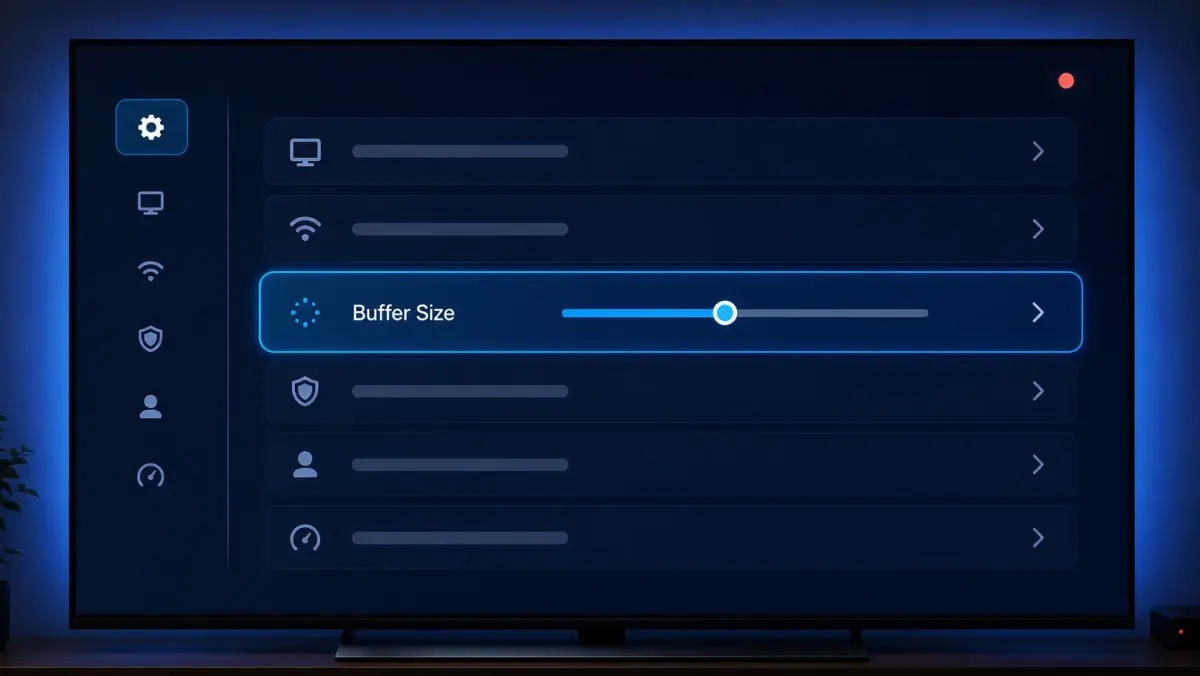
Apps such as TiviMate, IPTV Smarters, and other IPTV players may offer a setting for buffer size.
A larger buffer allows the app to store a few seconds of video in advance. This can absorb brief fluctuations in your connection and reduce visible interruptions.
Do not immediately choose the largest option.
Start with a medium buffer and test a channel that previously had problems.
A larger buffer has a trade-off: switching between channels may take longer. It also cannot fix a stream that stops at the source or an internet connection that remains too slow for an extended period.
Think of the buffer as protection against short interruptions, not as a cure for every streaming problem.
A sensible testing order is:
- Start with Normal or Medium.
- Test several channels for a few minutes.
- Increase the buffer only if short interruptions continue.
- Reduce it again if channel switching becomes unnecessarily slow.
The goal is not to select the largest possible buffer. The goal is to find the smallest setting that gives you stable playback.
Step 6: Try a Different Video Player or Decoder
Sometimes the connection is not the problem. The issue may be how your television or streaming box decodes the video.
Common signs include:
- video without sound;
- audio that falls behind the picture;
- green or black frames;
- repeated freezing on certain channels;
- one video format that does not play correctly;
- the app closing when a stream starts.
Many IPTV apps let you choose between a built-in player, hardware decoding, software decoding, or an external player such as VLC.
Try hardware decoding first. Modern devices can usually process video more efficiently this way.
If the problem continues, test software decoding or an external player. A different player may handle a particular video codec, audio codec, or stream format more effectively.
Only change this setting when you are experiencing a real playback issue. If the stream already works properly, there is no reason to replace the player.
Also remember that older Smart TVs may struggle with high-bitrate or modern video formats even when the internet connection is fast enough. In that case, an external Android TV box or another dedicated streaming device may perform better than the television’s built-in app.
Step 7: Choose Between MPEG-TS and HLS
Some IPTV apps and playlists let you choose between MPEG-TS and HLS.
MPEG-TS often reacts quickly when you change channels. However, it may be more sensitive to brief network interruptions.
HLS divides the stream into smaller segments. This can help the player recover from minor connection problems. If the provider offers multiple quality levels, HLS may also switch to a lower bitrate when the connection becomes weaker.
That does not mean HLS is always better.
On a stable wired connection, MPEG-TS may work perfectly and offer faster channel switching. On an inconsistent Wi-Fi connection, HLS may provide smoother playback.
The right option is simply the one that performs best on your device and internet connection.
Test both formats on the same channel under similar conditions. Watch for at least a few minutes rather than judging the result after only a few seconds.
Step 8: Change DNS Settings — When Can It Help?
DNS translates a domain name into the IP address of a server.
If your internet provider’s DNS server responds slowly or fails to resolve a domain correctly, an alternative DNS service may help. Two popular options are Cloudflare and Google.
Cloudflare DNS:
- Primary DNS:
1.1.1.1 - Secondary DNS:
1.0.0.1
Google DNS:
- Primary DNS:
8.8.8.8 - Secondary DNS:
8.8.4.4
It is important to understand what DNS can and cannot do.
Changing DNS does not directly increase the bandwidth available to your stream. Once the device has found the server, the video data still travels through your internet connection.
However, an alternative DNS server may help with slow domain lookups, connection errors, or a domain that is not resolving correctly.
Treat DNS as a troubleshooting step, not as a guaranteed buffering fix.
How to Change DNS on a Smart TV
The exact menu names vary between brands, but the general process is usually similar:
- Open the network settings.
- Select the active Wi-Fi or wired connection.
- Open the advanced IP settings.
- Disable automatic DNS.
- Enter the DNS address you want to test.
- Save the settings.
- Restart the television.
Write down the original setting before making any changes. This makes it easy to return to automatic DNS if the new setting does not improve anything.
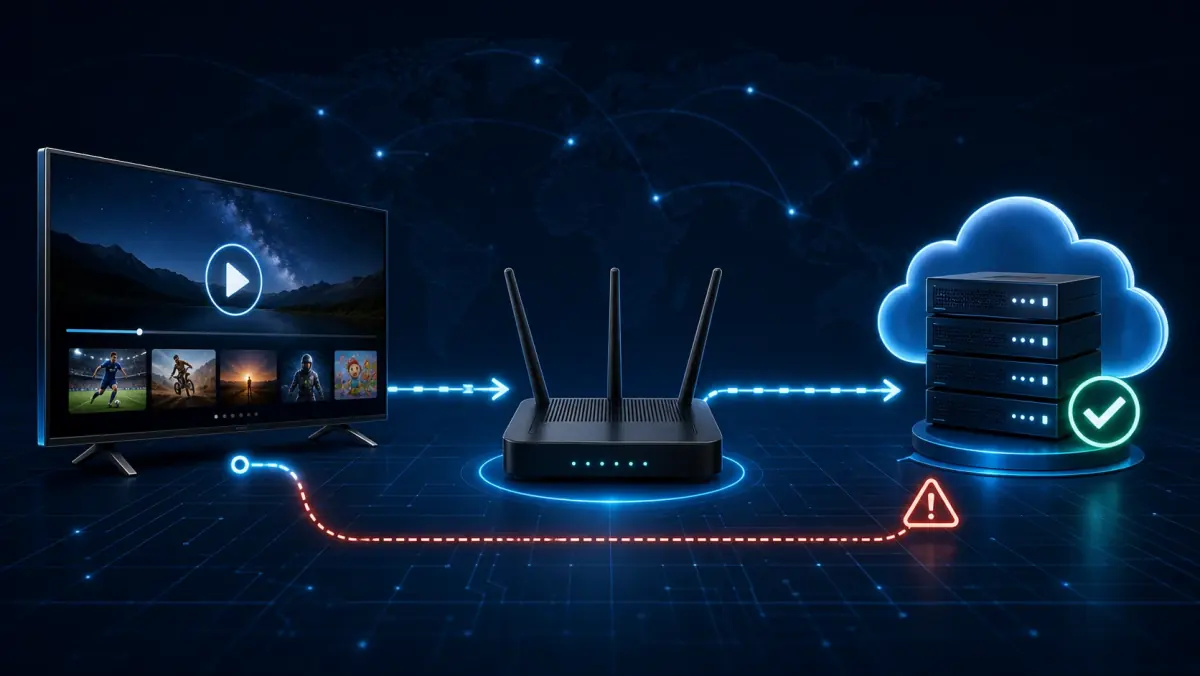
Step 9: When Is a VPN Worth Testing?
A VPN is often presented as the standard solution for every IPTV problem.
It is not that simple.
A VPN can be useful when the network route between your internet provider and the streaming server performs poorly. It can also help you test whether the problem only occurs through your normal connection.
But a VPN may also make the stream slower. Your traffic has to pass through an additional server, and performance depends on the VPN provider, server location, server load, protocol, and your device.
Use a VPN as a controlled test:
- Choose a server in the Netherlands or a nearby country.
- Open the same channel that previously buffered.
- Compare playback with and without the VPN.
- Pay attention to both buffering and channel-switching speed.
- Try one or two nearby servers before drawing a conclusion.
If the stream works clearly better with the VPN, routing may be part of the problem.
If the stream performs the same or becomes worse, the issue probably lies elsewhere, such as your Wi-Fi, device, app, or the source stream.
A VPN is not a replacement for a stable local setup. It will not repair an overloaded source server, weak Wi-Fi, or an underpowered television.
Step 10: Check Your Account and Simultaneous Connections
Many IPTV subscriptions support only one active connection at a time unless additional connections were purchased.
If the same account is used on several devices simultaneously, the stream may stop, reconnect repeatedly, or display an error.
Check the following:
- Is the IPTV app still open on another television?
- Is someone else using the same account?
- Has the playlist been shared across several devices?
- Does your subscription include one or multiple simultaneous connections?
- Was the app left running in the background on another device?
Close the app completely on every other device and test again.
If you see an error such as 403, “connection failed,” or an authentication error, confirm that the username, password, and server address were entered exactly as provided.
One extra space or missing character can be enough to prevent the connection.
Avoid sharing account details publicly or installing playlists from unknown sources. Your login information may give direct access to your subscription.
Quick Diagnosis: Which Problem Matches Your Situation?
What You Should Avoid Doing
When IPTV starts buffering, many users immediately begin changing advanced router settings.
That is usually unnecessary.
Do not open random ports or disable your firewall without a specific reason. Normal IPTV apps generally create their own outbound connections. Unnecessary router changes can introduce new problems or security risks.
You should also avoid installing several so-called cleaner or booster apps on your Smart TV. These apps often promise dramatic performance improvements but rarely solve the real cause of IPTV buffering.
Do not assume that every problem comes from your provider either.
The source stream may be overloaded. Your device may be running out of memory. The app may have a decoder issue. Your account may already be active elsewhere.
Keep the setup simple:
- a stable connection;
- a suitable streaming device;
- an updated and reliable IPTV app;
- correct account details;
- a sensible buffer setting;
- a dependable stream source.
Those are the elements that matter most.
The Best Order for Fixing IPTV Buffering
Do you want a simple checklist instead of reading the entire guide again? Follow this order:
- Test another channel.
- Test a movie or series from the on-demand library.
- Test the same account on a second device.
- Restart the app, television, streaming device, and router.
- Connect the device with an Ethernet cable.
- Run a speed test on the actual viewing device.
- Pause downloads, backups, and other heavy network activity.
- Adjust the app’s buffer setting.
- Test another video player or decoder.
- Compare MPEG-TS and HLS.
- Test an alternative DNS server.
- Test a VPN only if the earlier steps do not identify the cause.
- Contact the IPTV provider when only specific channels or streams fail.
This method is more effective than assuming that one hidden setting will solve everything.
It also gives you useful information when you contact IPTV support. Instead of saying only that “IPTV does not work,” you can explain which devices, channels, connections, and settings you have already tested.
Conclusion
Watching IPTV without buffering does not begin with a secret setting.
It begins with a stable connection.
Use an Ethernet cable whenever possible. Test the stream on more than one device. Check whether your home network is overloaded. Restart the equipment properly. Only then should you move on to settings such as buffer size, player, stream format, DNS, or VPN.
Also remember that buffering can begin at the source. If one specific channel has problems while every other channel works well, your television is probably not the cause.
With a solid setup and a logical troubleshooting process, you can identify and solve most local IPTV problems quickly.
At iptv-netherland.com, we help customers not only access IPTV but also install and configure the service on their devices.
Would you like to see how the service performs on your own television and internet connection before making a decision?
Compare our IPTV subscription plans, explore the Dutch IPTV channel list, or request a trial account. This allows you to test the service and find the settings that work best for your device.
Written by
IPTV Netherland Editorial Team
IPTV setup and streaming support
Our editorial team writes practical IPTV guides for viewers in the Netherlands, with a focus on device setup, stable streaming, app configuration, and clear troubleshooting steps.
Useful IPTV resources
Continue with the most relevant setup, channel, and subscription pages.